Maple Syrup Butter Cookies

This recipe comes straight from the Women’s Weekly “Classic Cookies” cookbook but of course I have adapted to make them allergy friendly. My little duckling really enjoys helping with this one! I love this recipe because it has only a handful of ingredients, they look great, taste delicious and no cane sugar.

ingredientsIngredients

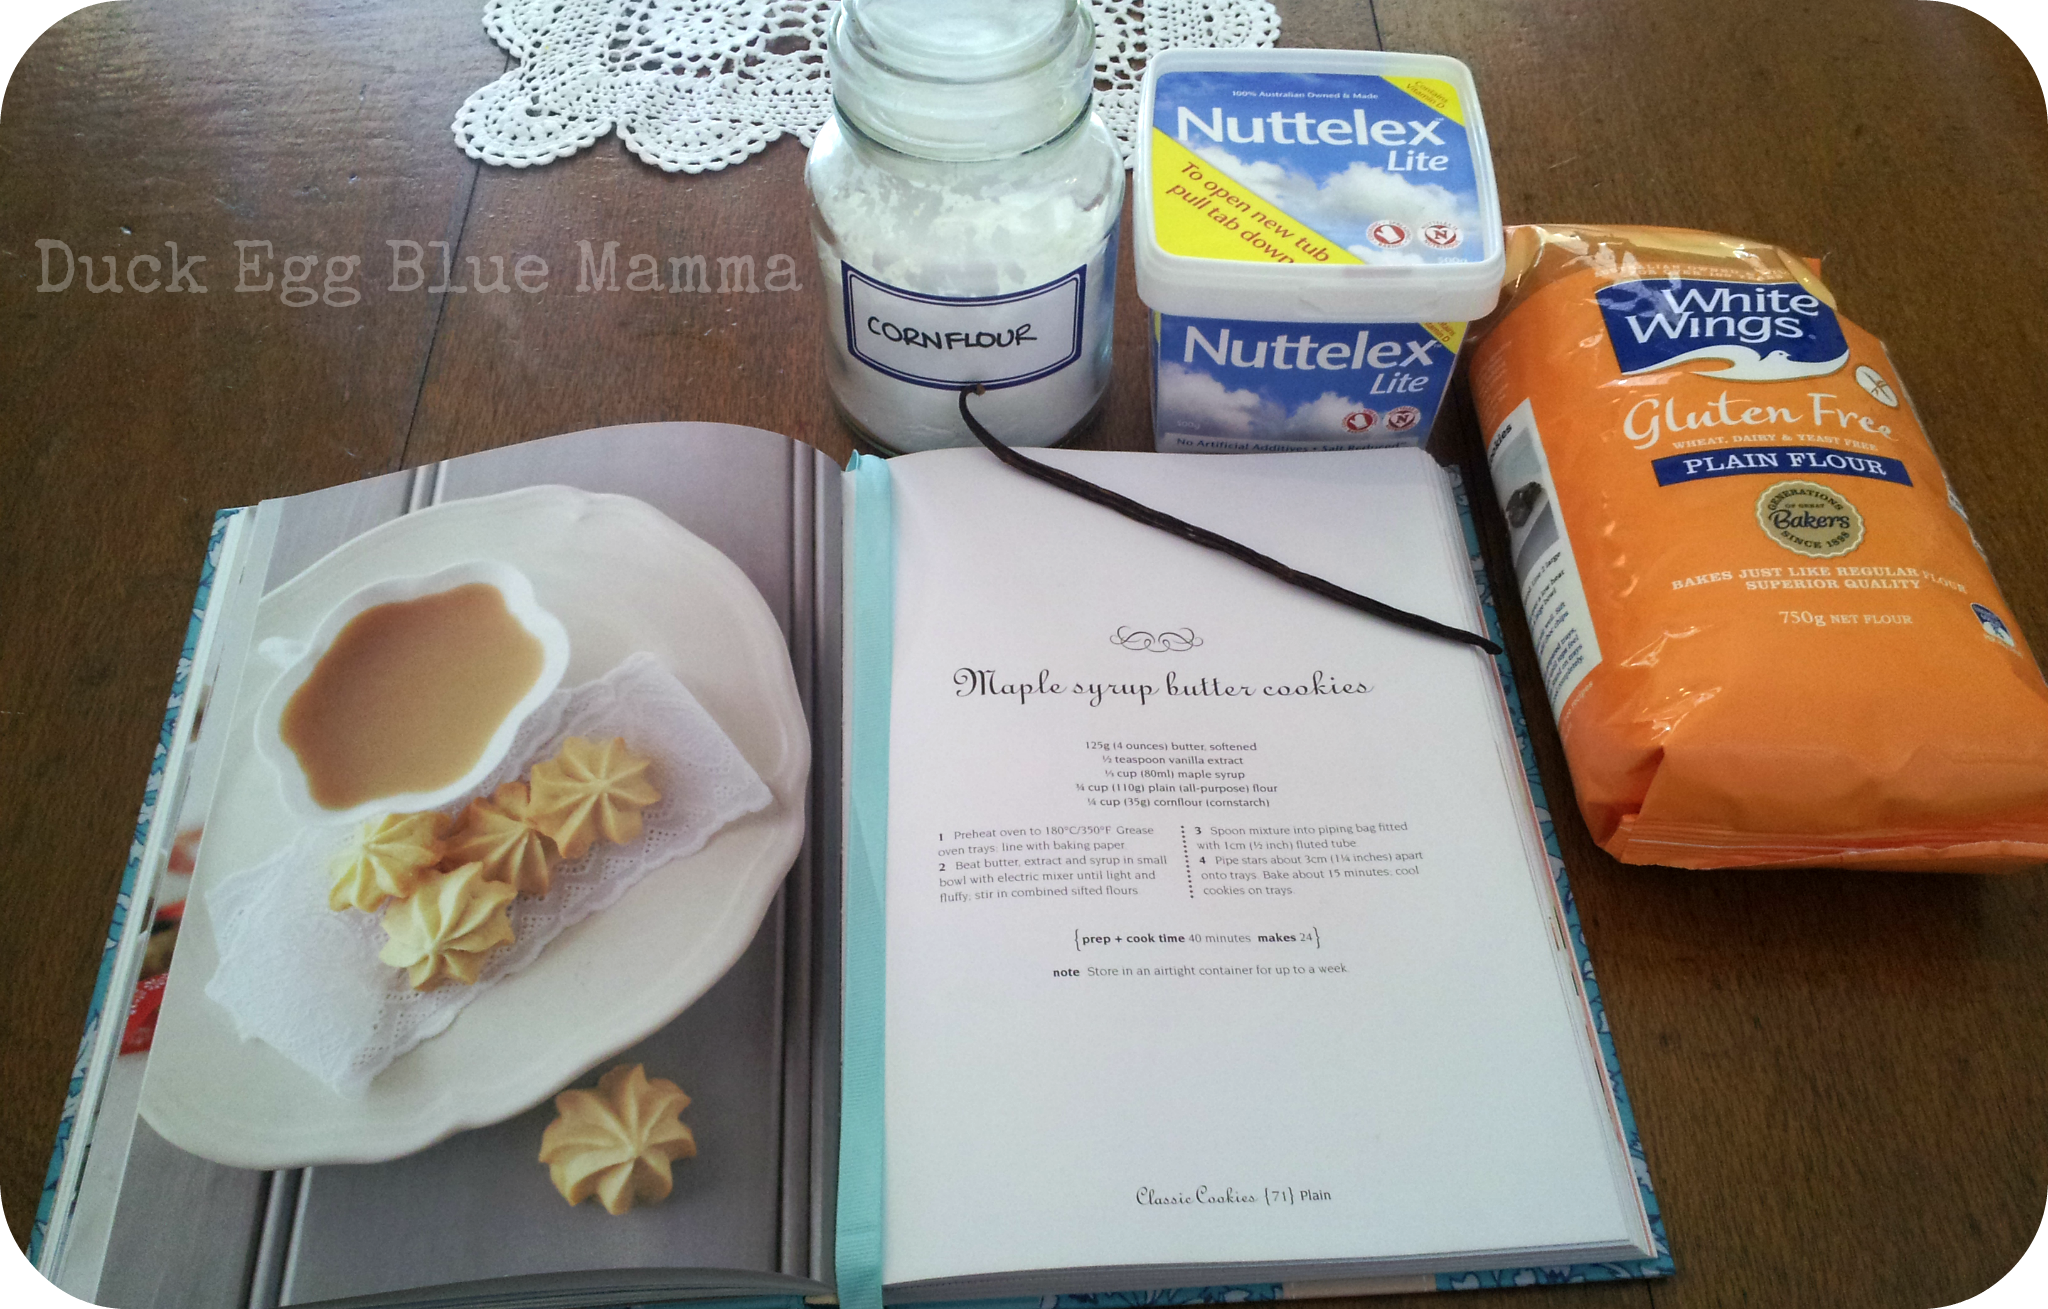
125g Nutlex (or butter if you can handle dairy)

1 vanilla pod (or 1/2 tsp vanilla extract)

1/3 cup organic maple syrup

3/4 cup gluten free flour (or plain flour if not gf)

1/4 cup cornflour

maple syrupFirst in goes the maple syrup

butter
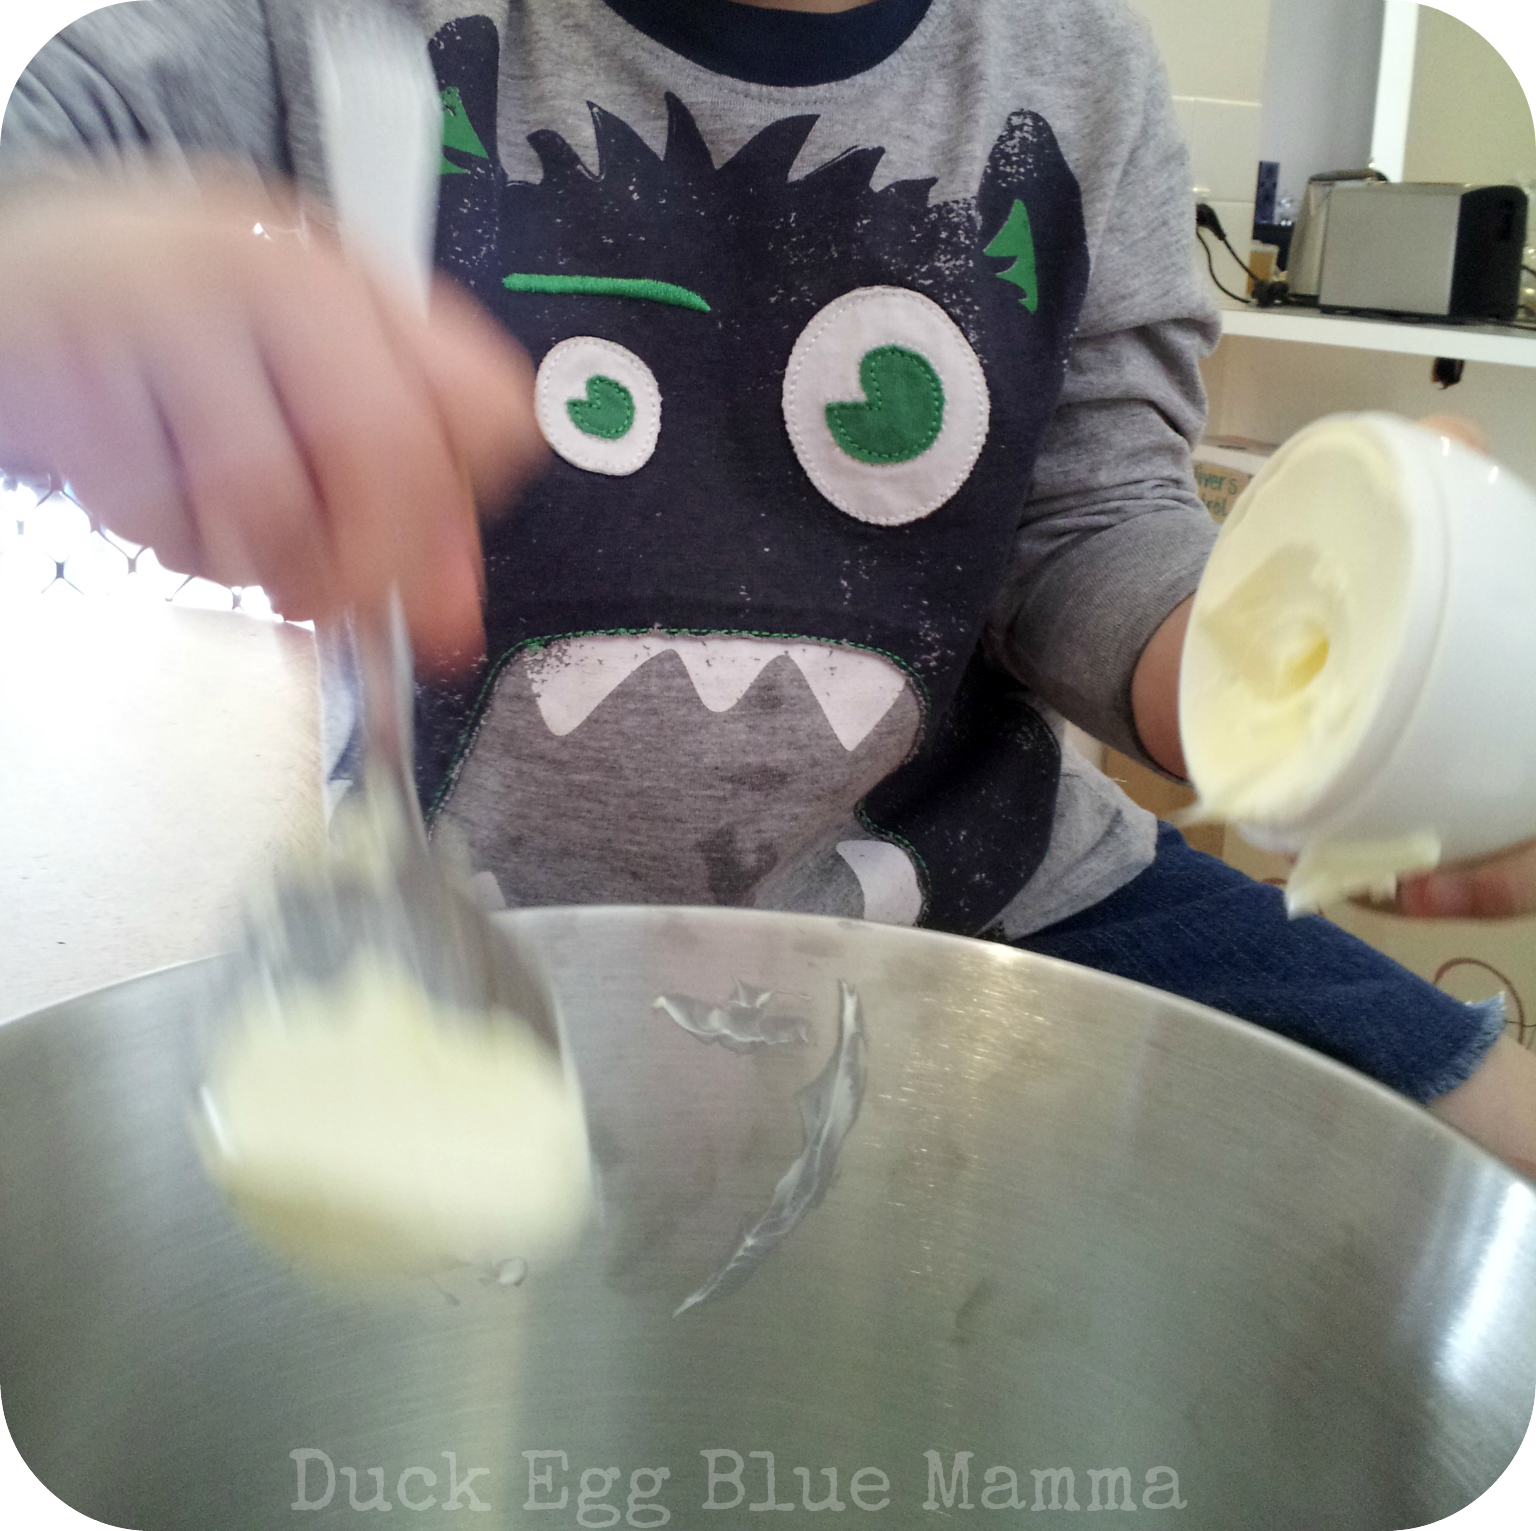
Then he helps with the butter. Mamma adds the vanilla.

vanilla bean

beat

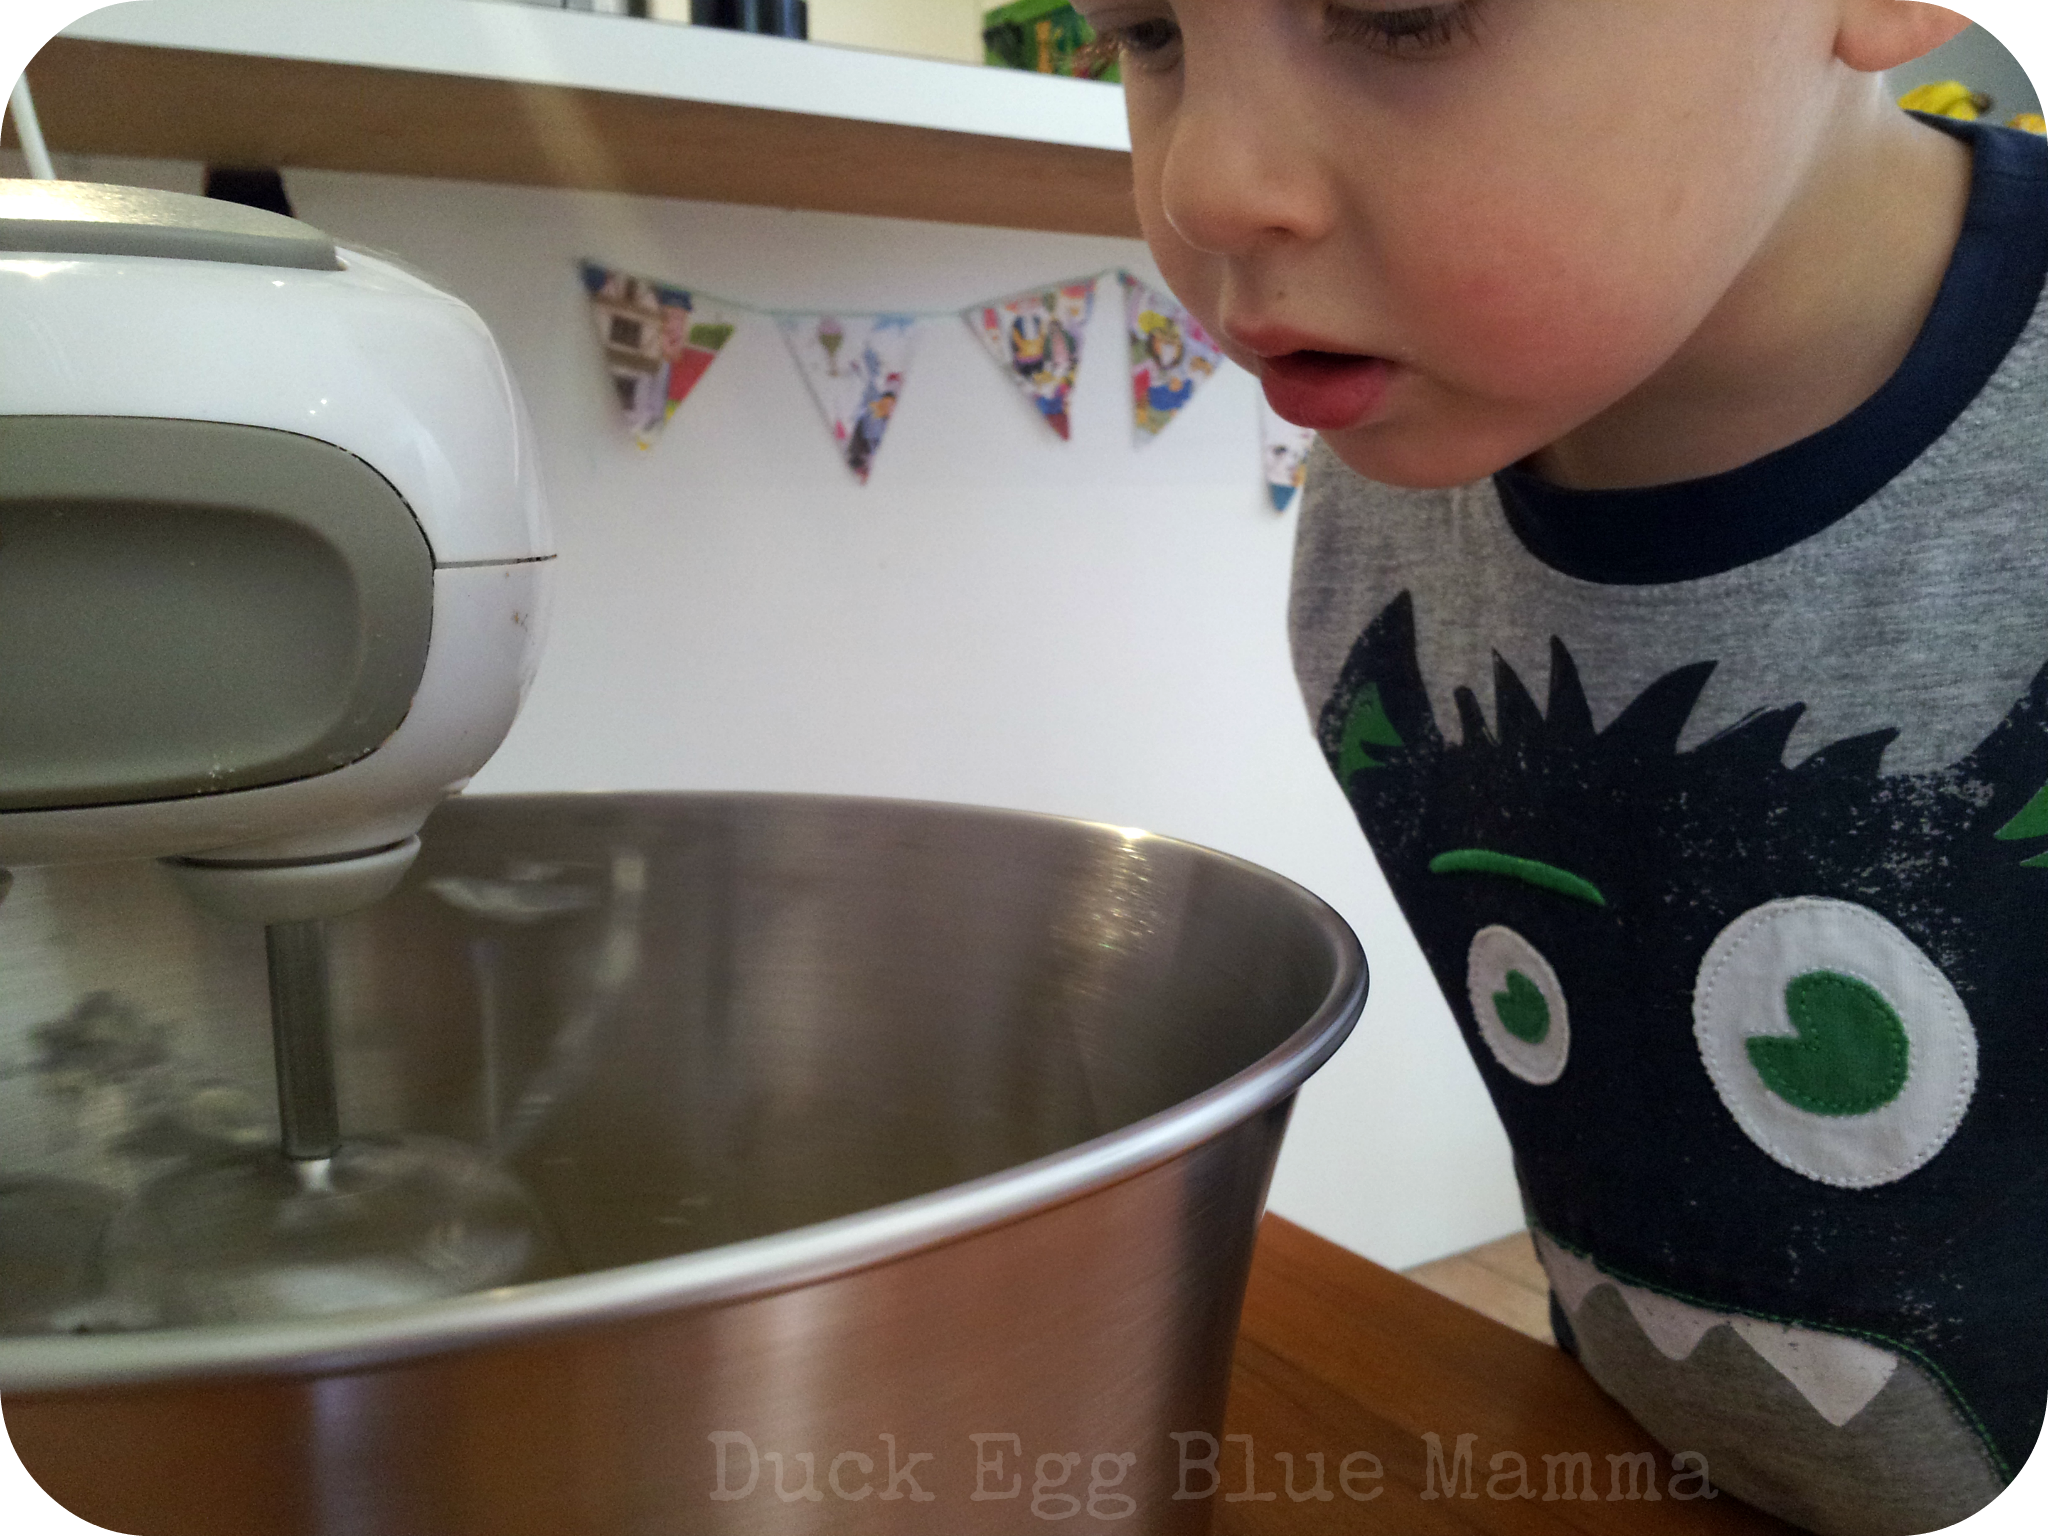
Hands behind back when watching the butter and maple syrup. Beat until light and fluffy.

sifting flour 2                                              sifting flour 1

Next sift the flour and cornflour over the butter mixture. A little too hard and messy for this little duck to do. He does not like it when Mamma takes over! So he holds my arm while I sift.

stirring

Next we stir it all together. Always have to keep a close eye on my little duckling in this stage, otherwise it all goes in his mouth! Next the mixture goes into a piping bag. Little duckling likes watching the mixture be piped onto the tray. Once completed, place the tray of cookies into the fridge for 15-30mins. This makes the butter go hard and they keep their shape when cooking.

piping 2                             piping

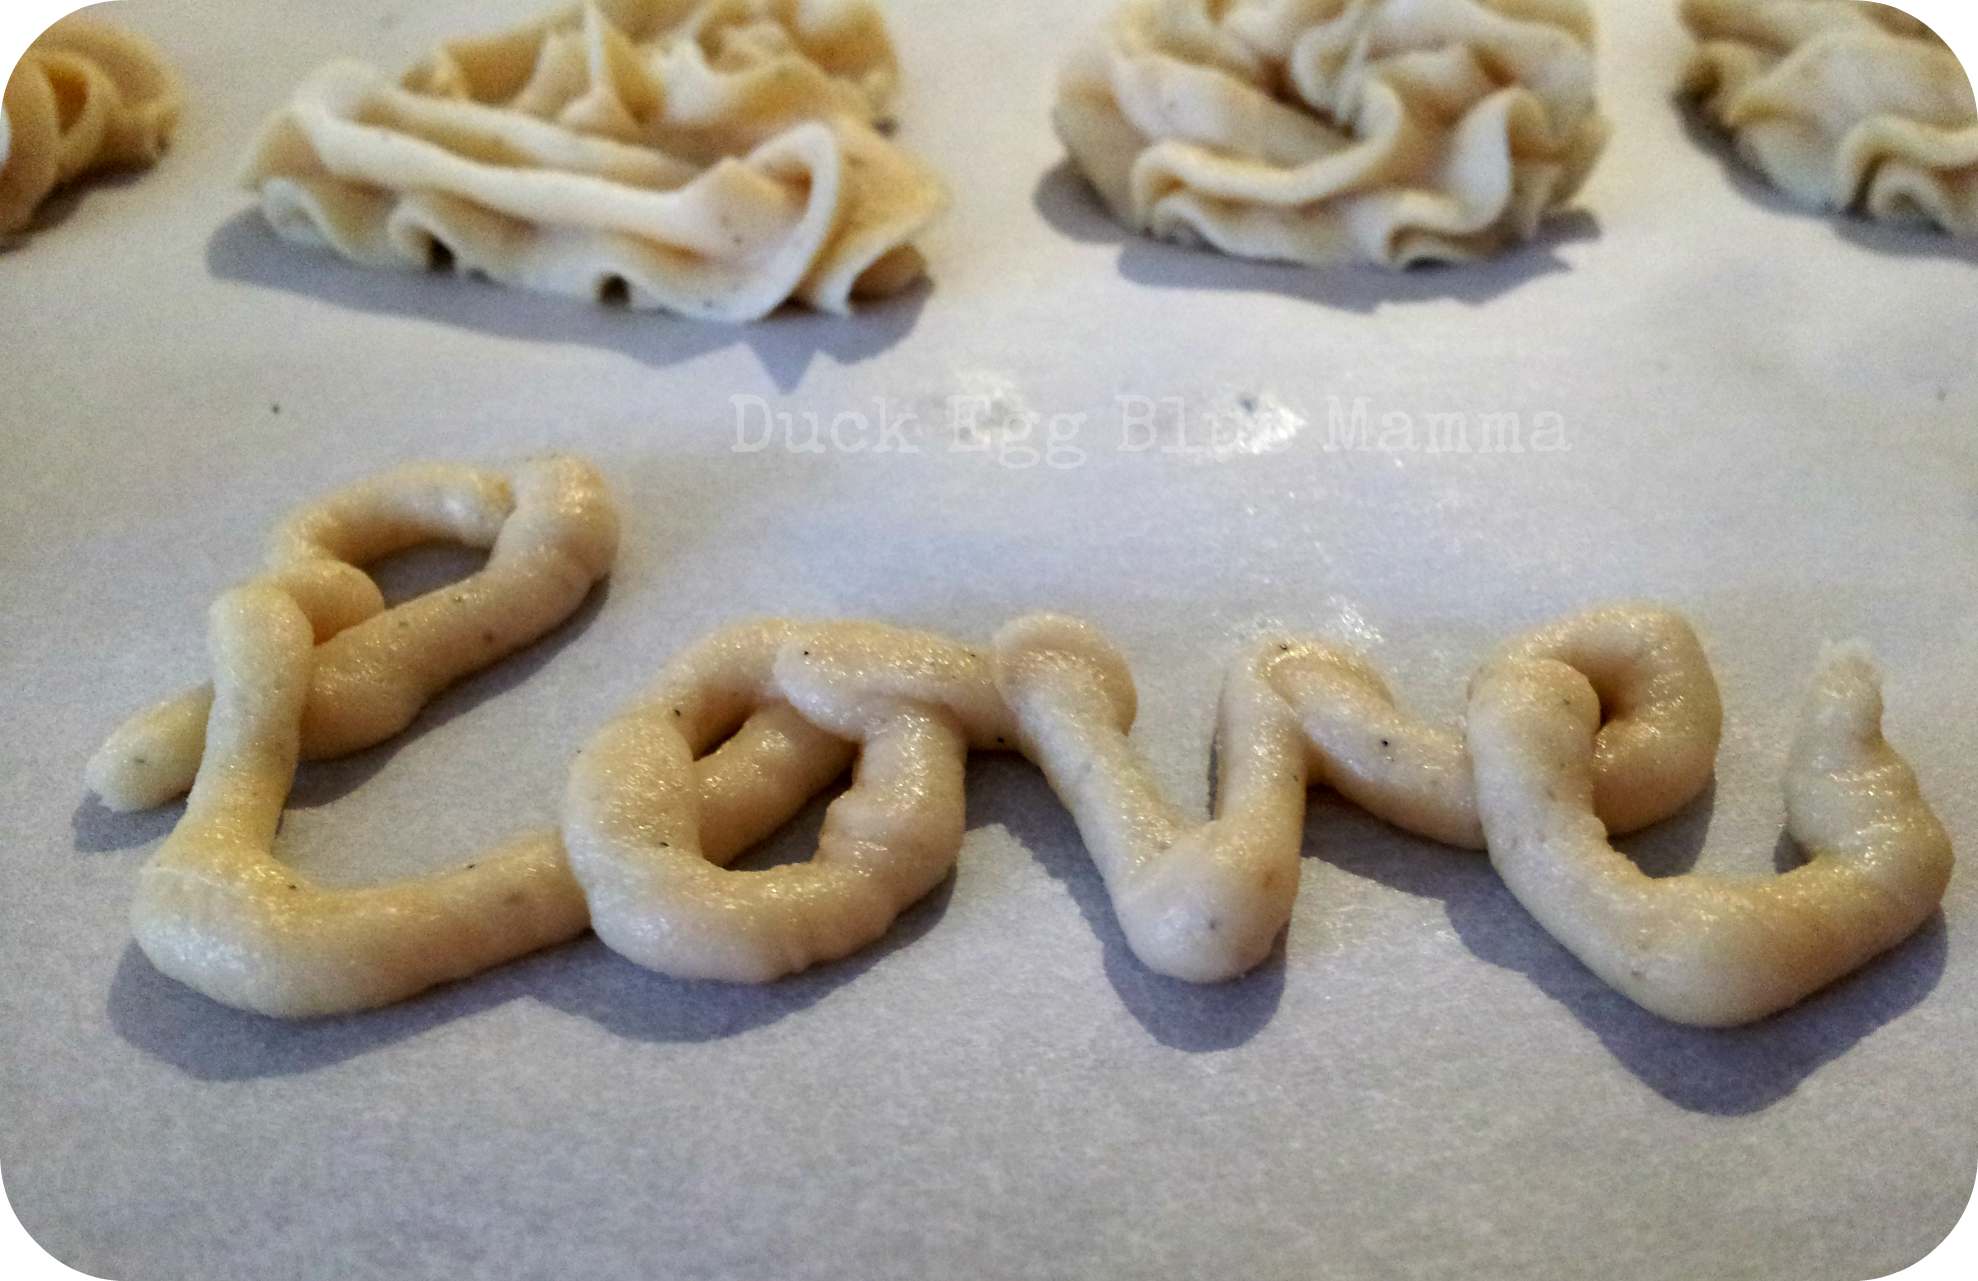
Bake in the oven at 180 degrees Celsius for 15 minutes. Cool on tray.
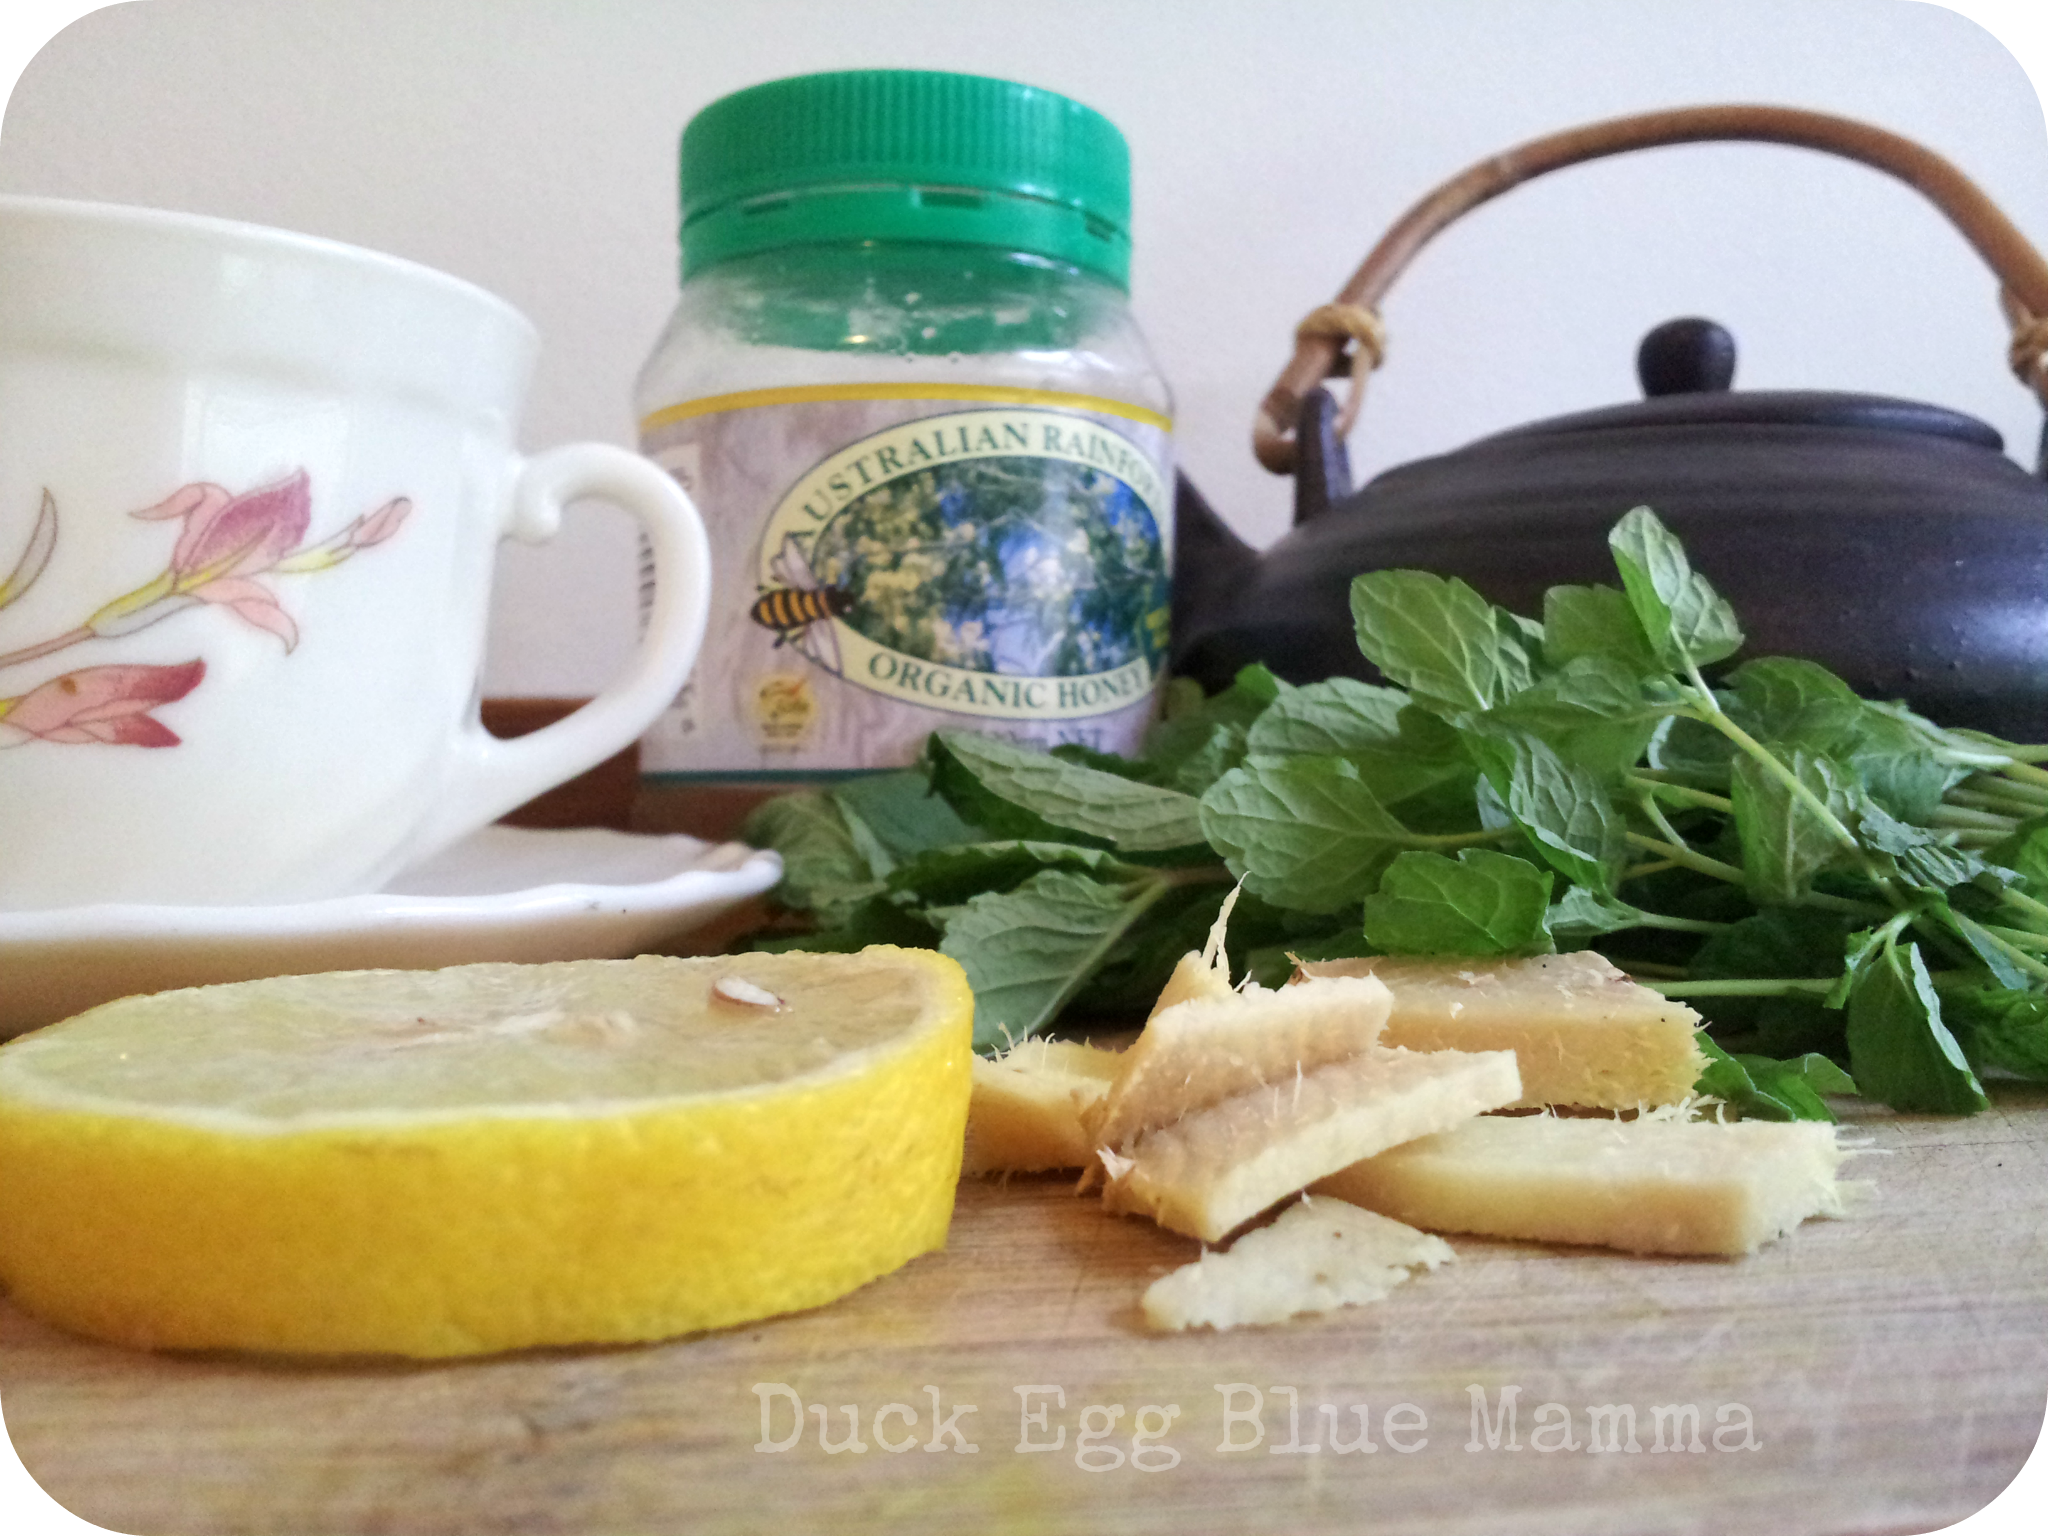
all done

enjoying

Afternoon Tea!

cookies

I’m currently obsessed with this tea combination – fresh mint, ginger, lemon and honey.  Goes quite nice with our freshly baked cookies!

herbal tea

Happy Cooking!

Love Duck Egg Blue Mamma xx

Chicken Nuggets and Chips – Allergy friendly receipe

This one is a bit of a favourite in our house with the little man. It is gluten free, egg free, dairy free and nut free. Eating takeaway is very limited with our little duckling’s allergies, so below is our version of Chicken Nuggets and Chips.

Ingredients

Chicken Breast

Gluten Free Breadcrumbs (or sometimes we use allergy friendly cornflakes crushed up)

Rice milk (or your choice of milk)

Gluten Free flour (or cornflour)

Mixed dried herbs

Sea Salt and cracked pepper

Potatoes and sweet potatoes

Coconut oil

Chicken Nuggets

1. Cut Chicken breast into nugget shaped pieces – no right or wrong way to do this step!

2. Put the gluten free flour, seasoning and a little dried herbs in one bowl.

3. Put rice milk in another bowl.

4. Put breadcrumbs and a little dried herbs in another bowl.

5. I dip all of the nuggets into flour making sure each surface is covered and place on a plate.

6. Then take a floured nugget and dip in milk and then cover in breadcrumbs. Place on baking tray covered in baking paper. Continue this step until all of the nuggets are complete.

Bake at 180 degrees celsius for 7 mins. Turn nuggets over and bake for an extra 5-7 minutes. We serve our nuggets with oven baked chips and some gluten free organic BBQ sauce or we make our own hummus.

chicken nuggets

Oven Baked Chips

Peel and cut chip shapes from potato and sweet potato. In a bowl mix a little melted coconut oil with a pinch of sea salt and toss the chips through. Place on tray lined with baking paper and place in oven for 15-20mins (depending on the size of your chips) at 180 degrees celsius.

chippies

Enjoy!

Duck Egg Blue Mamma xx

Cooking with Toddlers

For as long as I can remember I have been in the kitchen cooking with my mum. When my sister came along, who is 9 years younger than I, she joined us sitting up on the bench in her bouncer. When our little duckling came along he naturally joined me in the kitchen cooking. First in the bouncer, then later sitting on the bench and now he cooks with me. So I thought I would share some tips on cooking with toddlers…..well what I have learnt so far!

1. Choose an easy recipe 

Toddlers have short attention spans, make it easier for yourself. Choose a recipe with only a handful of ingredients and a few steps.

2. The Mess

Yes there will be flour everywhere, fingers in the butter, spilt milk, and mouths full of cookie dough – embrace the mess, its lots of fun.


3. Cooking = Playtime

Once hands are clean and apron is on, our little duckling sits on the bench and plays. Let them play and explore. He explores how different ingredients taste (only if he wants to, there is no pressure), how ingredients feel, he pours, sprinkles, rolls and kneads, scoops and stirs. 

fingers

4. Give them space

I let him roll his own cookies. Yes this is hard for me as I like to be in control! So I give him a small amount of dough and I show him how to roll it into balls and press on the tray. Last time we cooked he rolled a few and then ate the majority of them. A few made the tray – they had big finger holes through them, all different shapes and sizes but who cares. He made them himself, while I rolled the rest out. While I am happy to eat his cookies with him, I wouldn’t serve them up to guests! I can’t be certain that they weren’t licked on the way to the tray!

5. No force

Sometimes I’ll set up to cook with him and he gets on the bench and either doesn’t want to cook or is just ‘hard work’ for me. In those cases I give him two options depending on how much cleaning I want to do afterwards.

1. Playdough and a whole heap of cookie cutters etc

2. Mixing bowls, measuring cups and spoons and flour (or uncooked rice or pasta) and he pours and stirs and plays. Big mess but lots of fun and he enjoys pretending while I get stuck in cooking. mess

Final words…have fun and don’t stress. Once the food is in the oven I sit our little duckling in front of a favourite DVD while I clean up the mess. Afterwards we get to sit down and enjoy what we have cooked. What a rewarding activity to do.